Moving House for Pi 5!
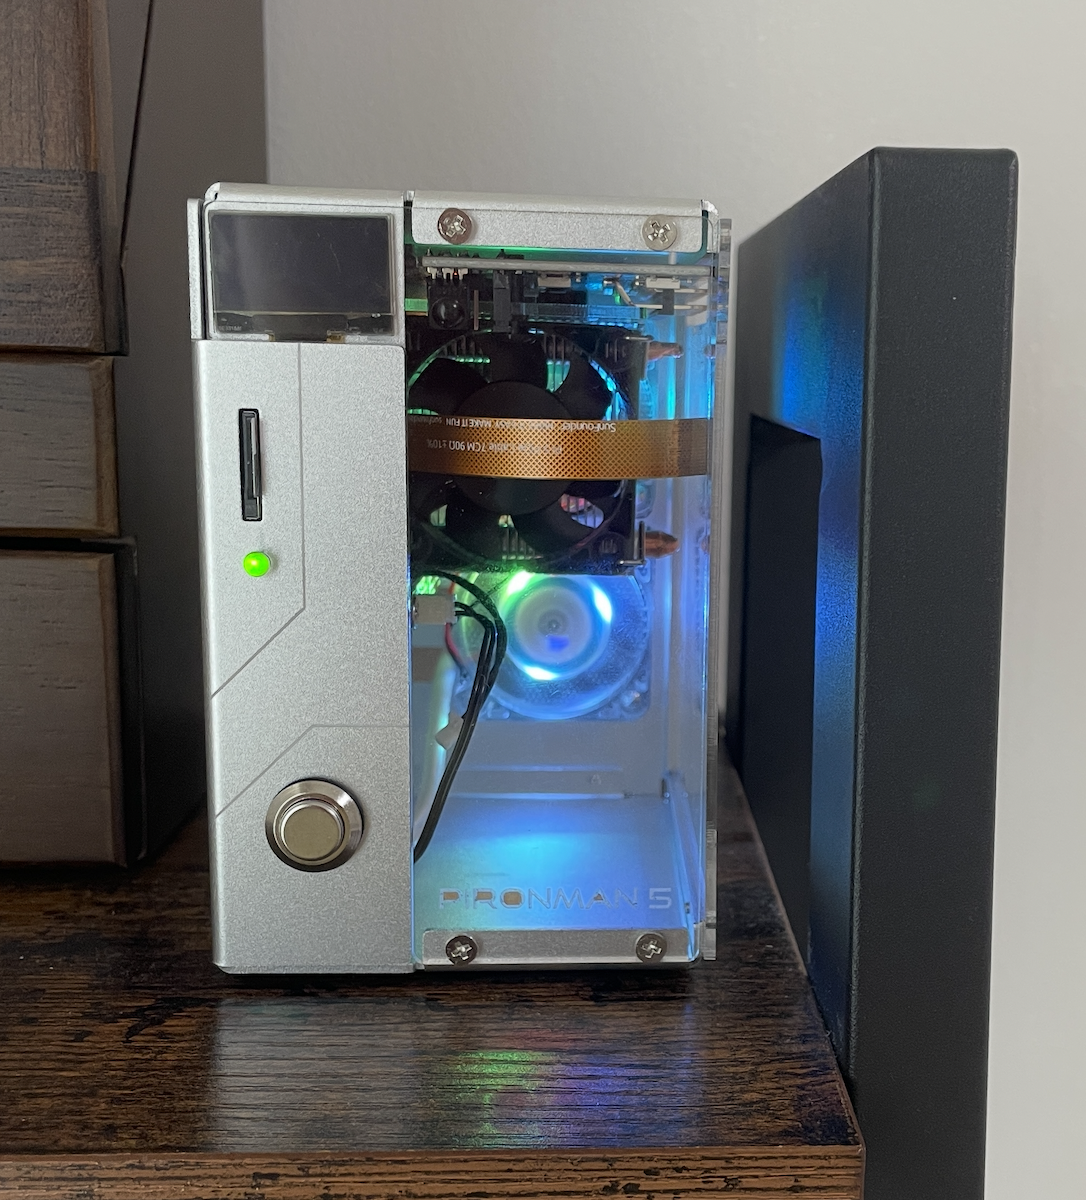
I migrated my Raspberry Pi 5 from its small case to the Pironman 5 case, which offers more space, better airflow, and easier access to all the ports.
I have been thinking to move my Pi 5 from its small case to this Pironman 5 case with more space, better airflow, and all the ports easily accessible. With that in mind I purchased the Pironman 5 case last Monday, and it arrived on Saturday afternoon - just in time for the long weekend.
This article is kind of like a walk-through for the full assembly process: from unpacking all the components, putting all the modules and components together, installing the Pi into the case, and making sure everything powers up properly.
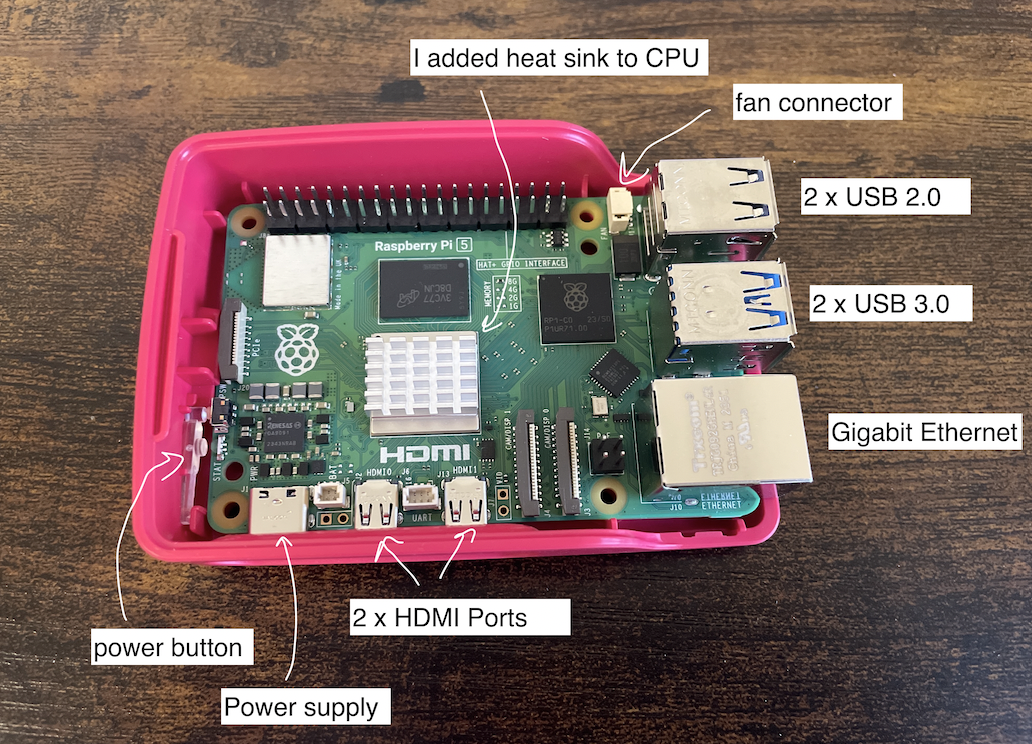 >>>
>>> 
Along the way, I intend to point out a few gotcha and tips I learnt the hard way.
Step 1 through Step 9
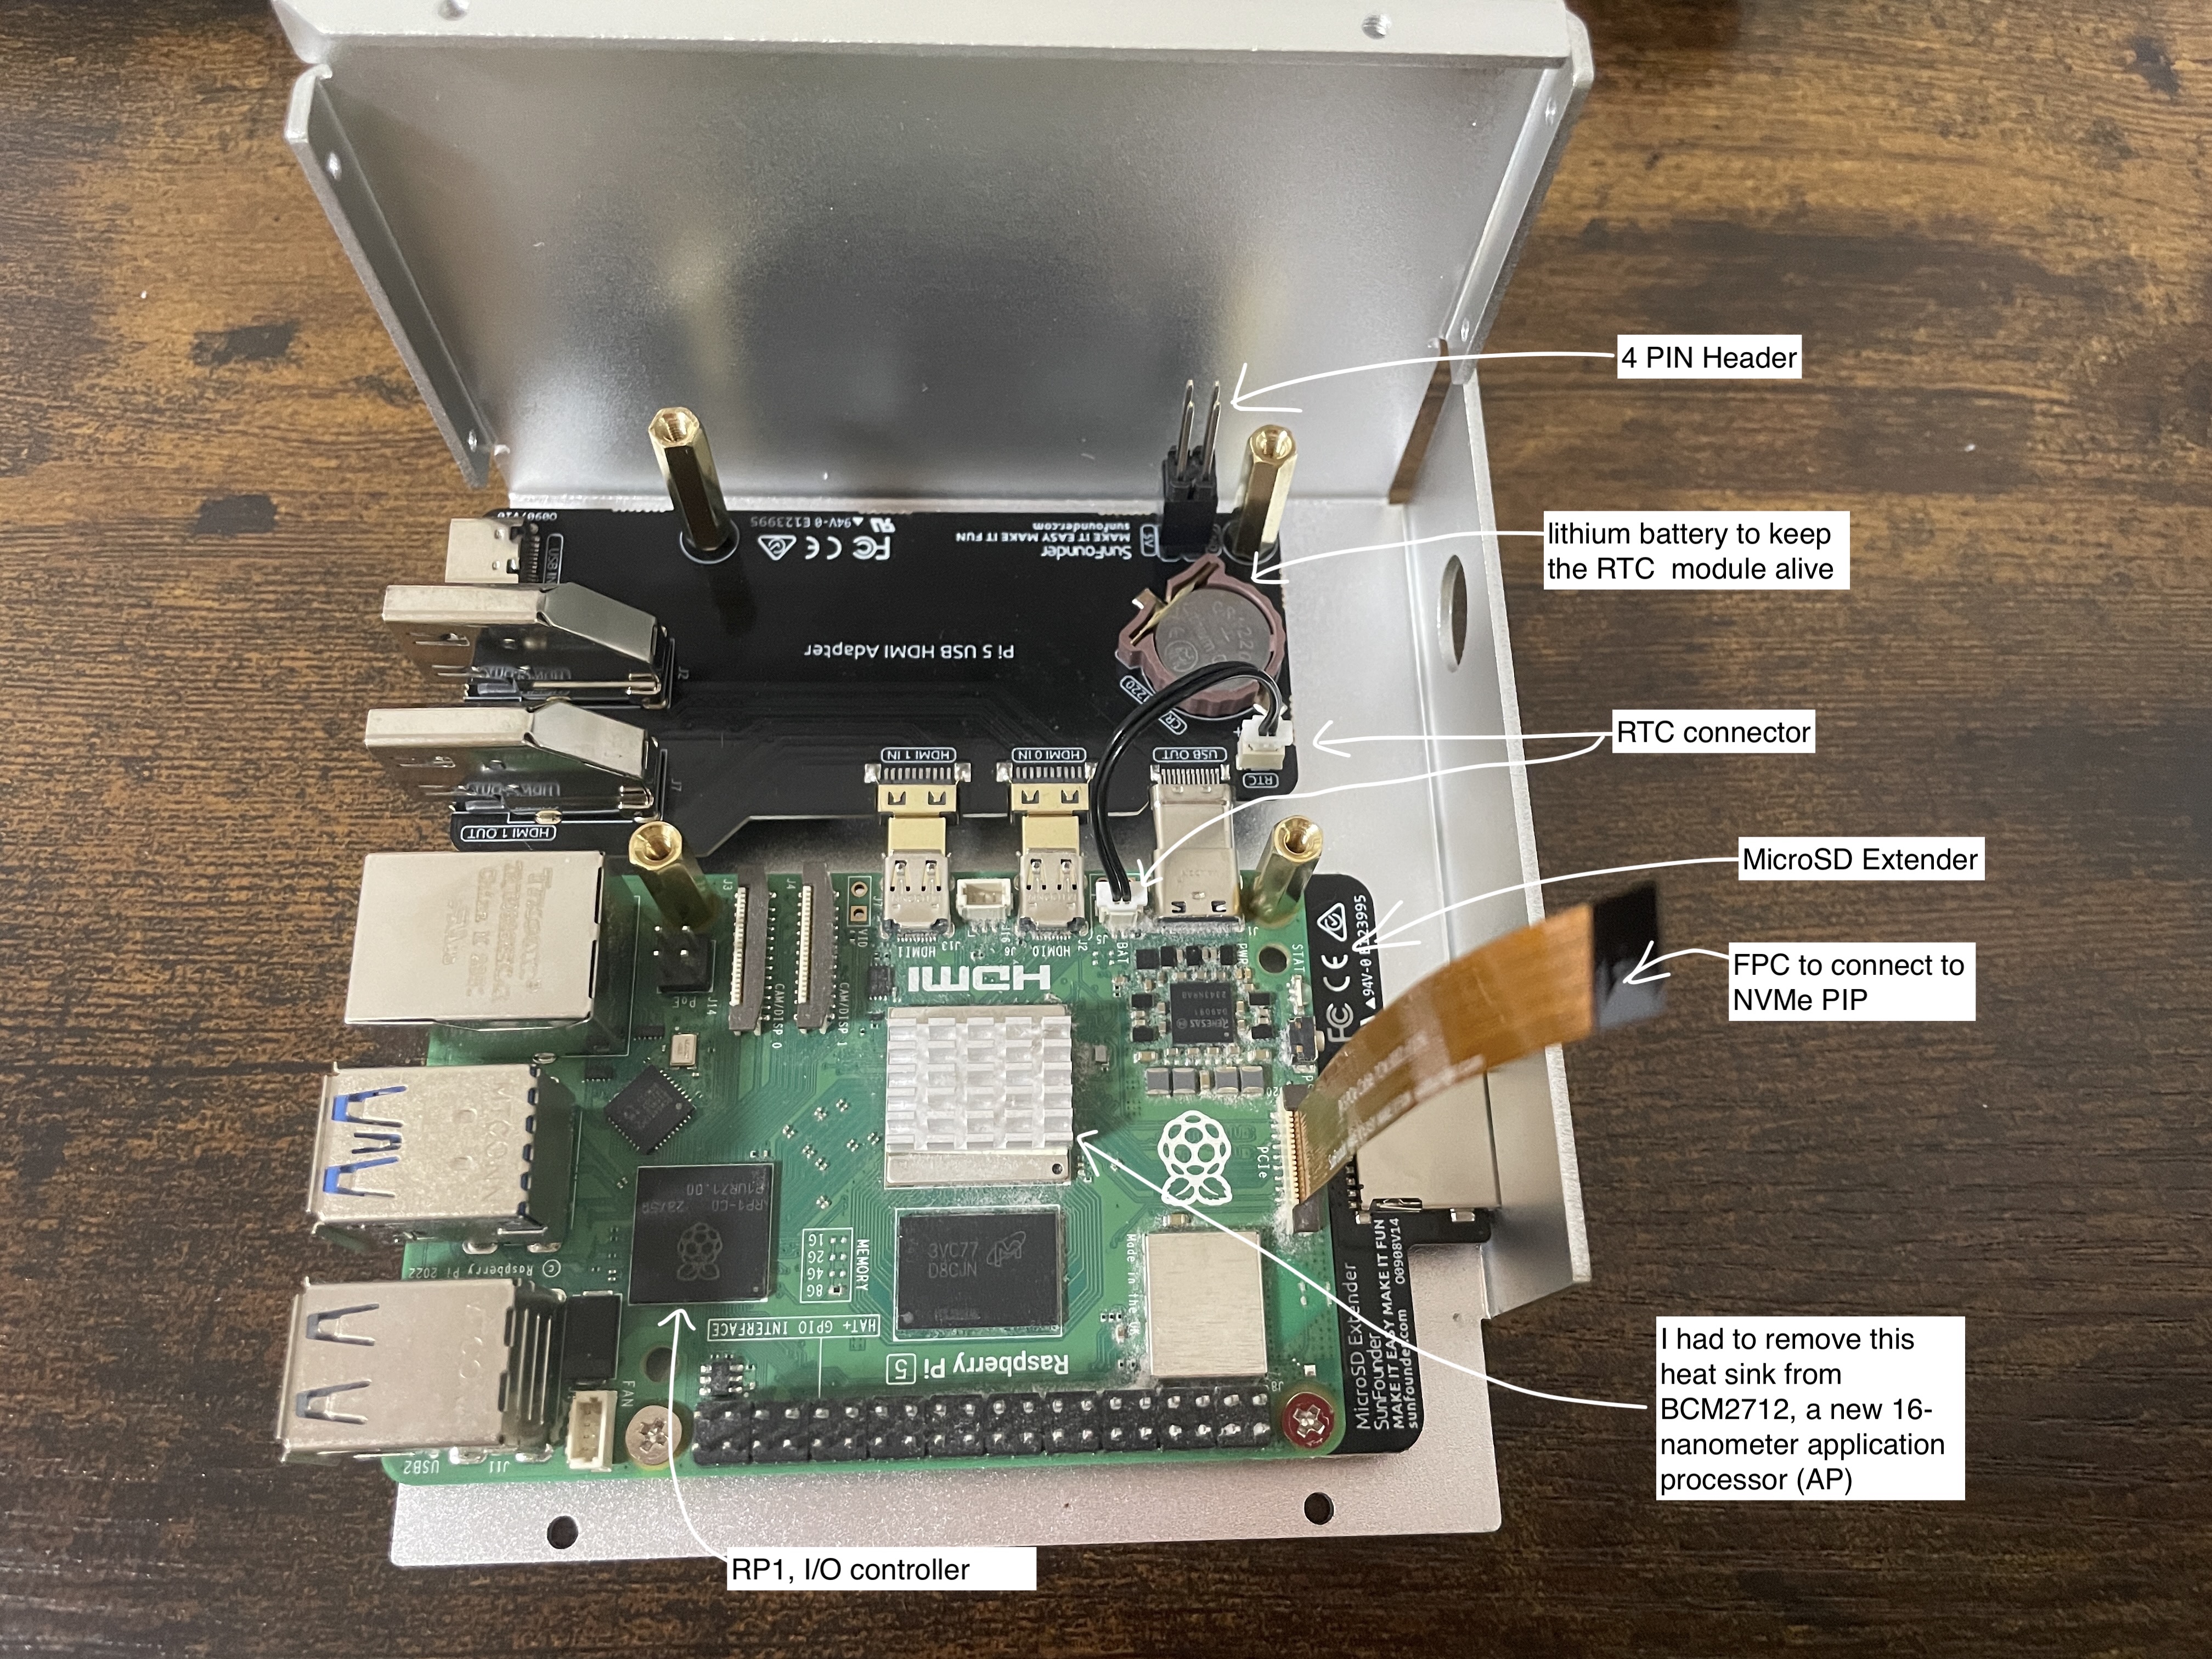
If I were to do it all over again, I won't start with 1 and 2. While Standoffs are necessary so that the CP won't get scratched, it is more important to test each component/ module before moving on to the next one. For example, once I have completed step 8, I will plug in the USB C Charger to USB HDMI Adapter to test the connection. Also, that tiny 2-pin RTC connector doesn't power the Pi, but it keeps the clock ticking even when the Pi is off!
Step 10 through Step 16
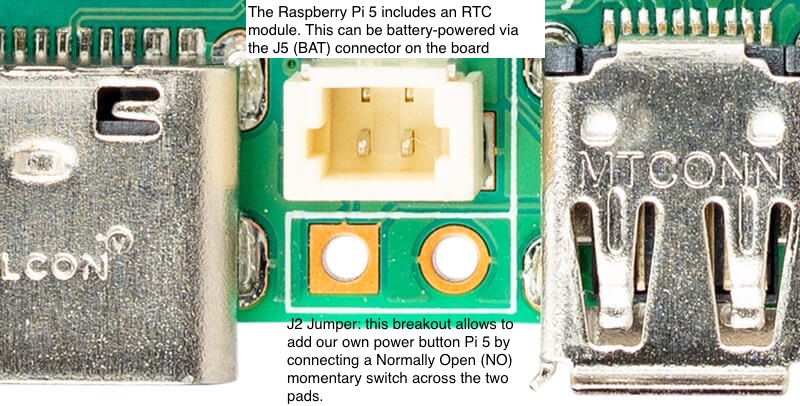
The components to test are Power Switch and Tower Cooler. Jumper is utilized for the power button. Per their documentation, "This breakout allows you to add your own power button to Raspberry Pi 5 by adding a Normally Open (NO) momentary switch bridging the two pads. Briefly closing this switch will perform the same actions as the onboard power button." And, that's how the power button is functioning.
Step 17 through Step 23
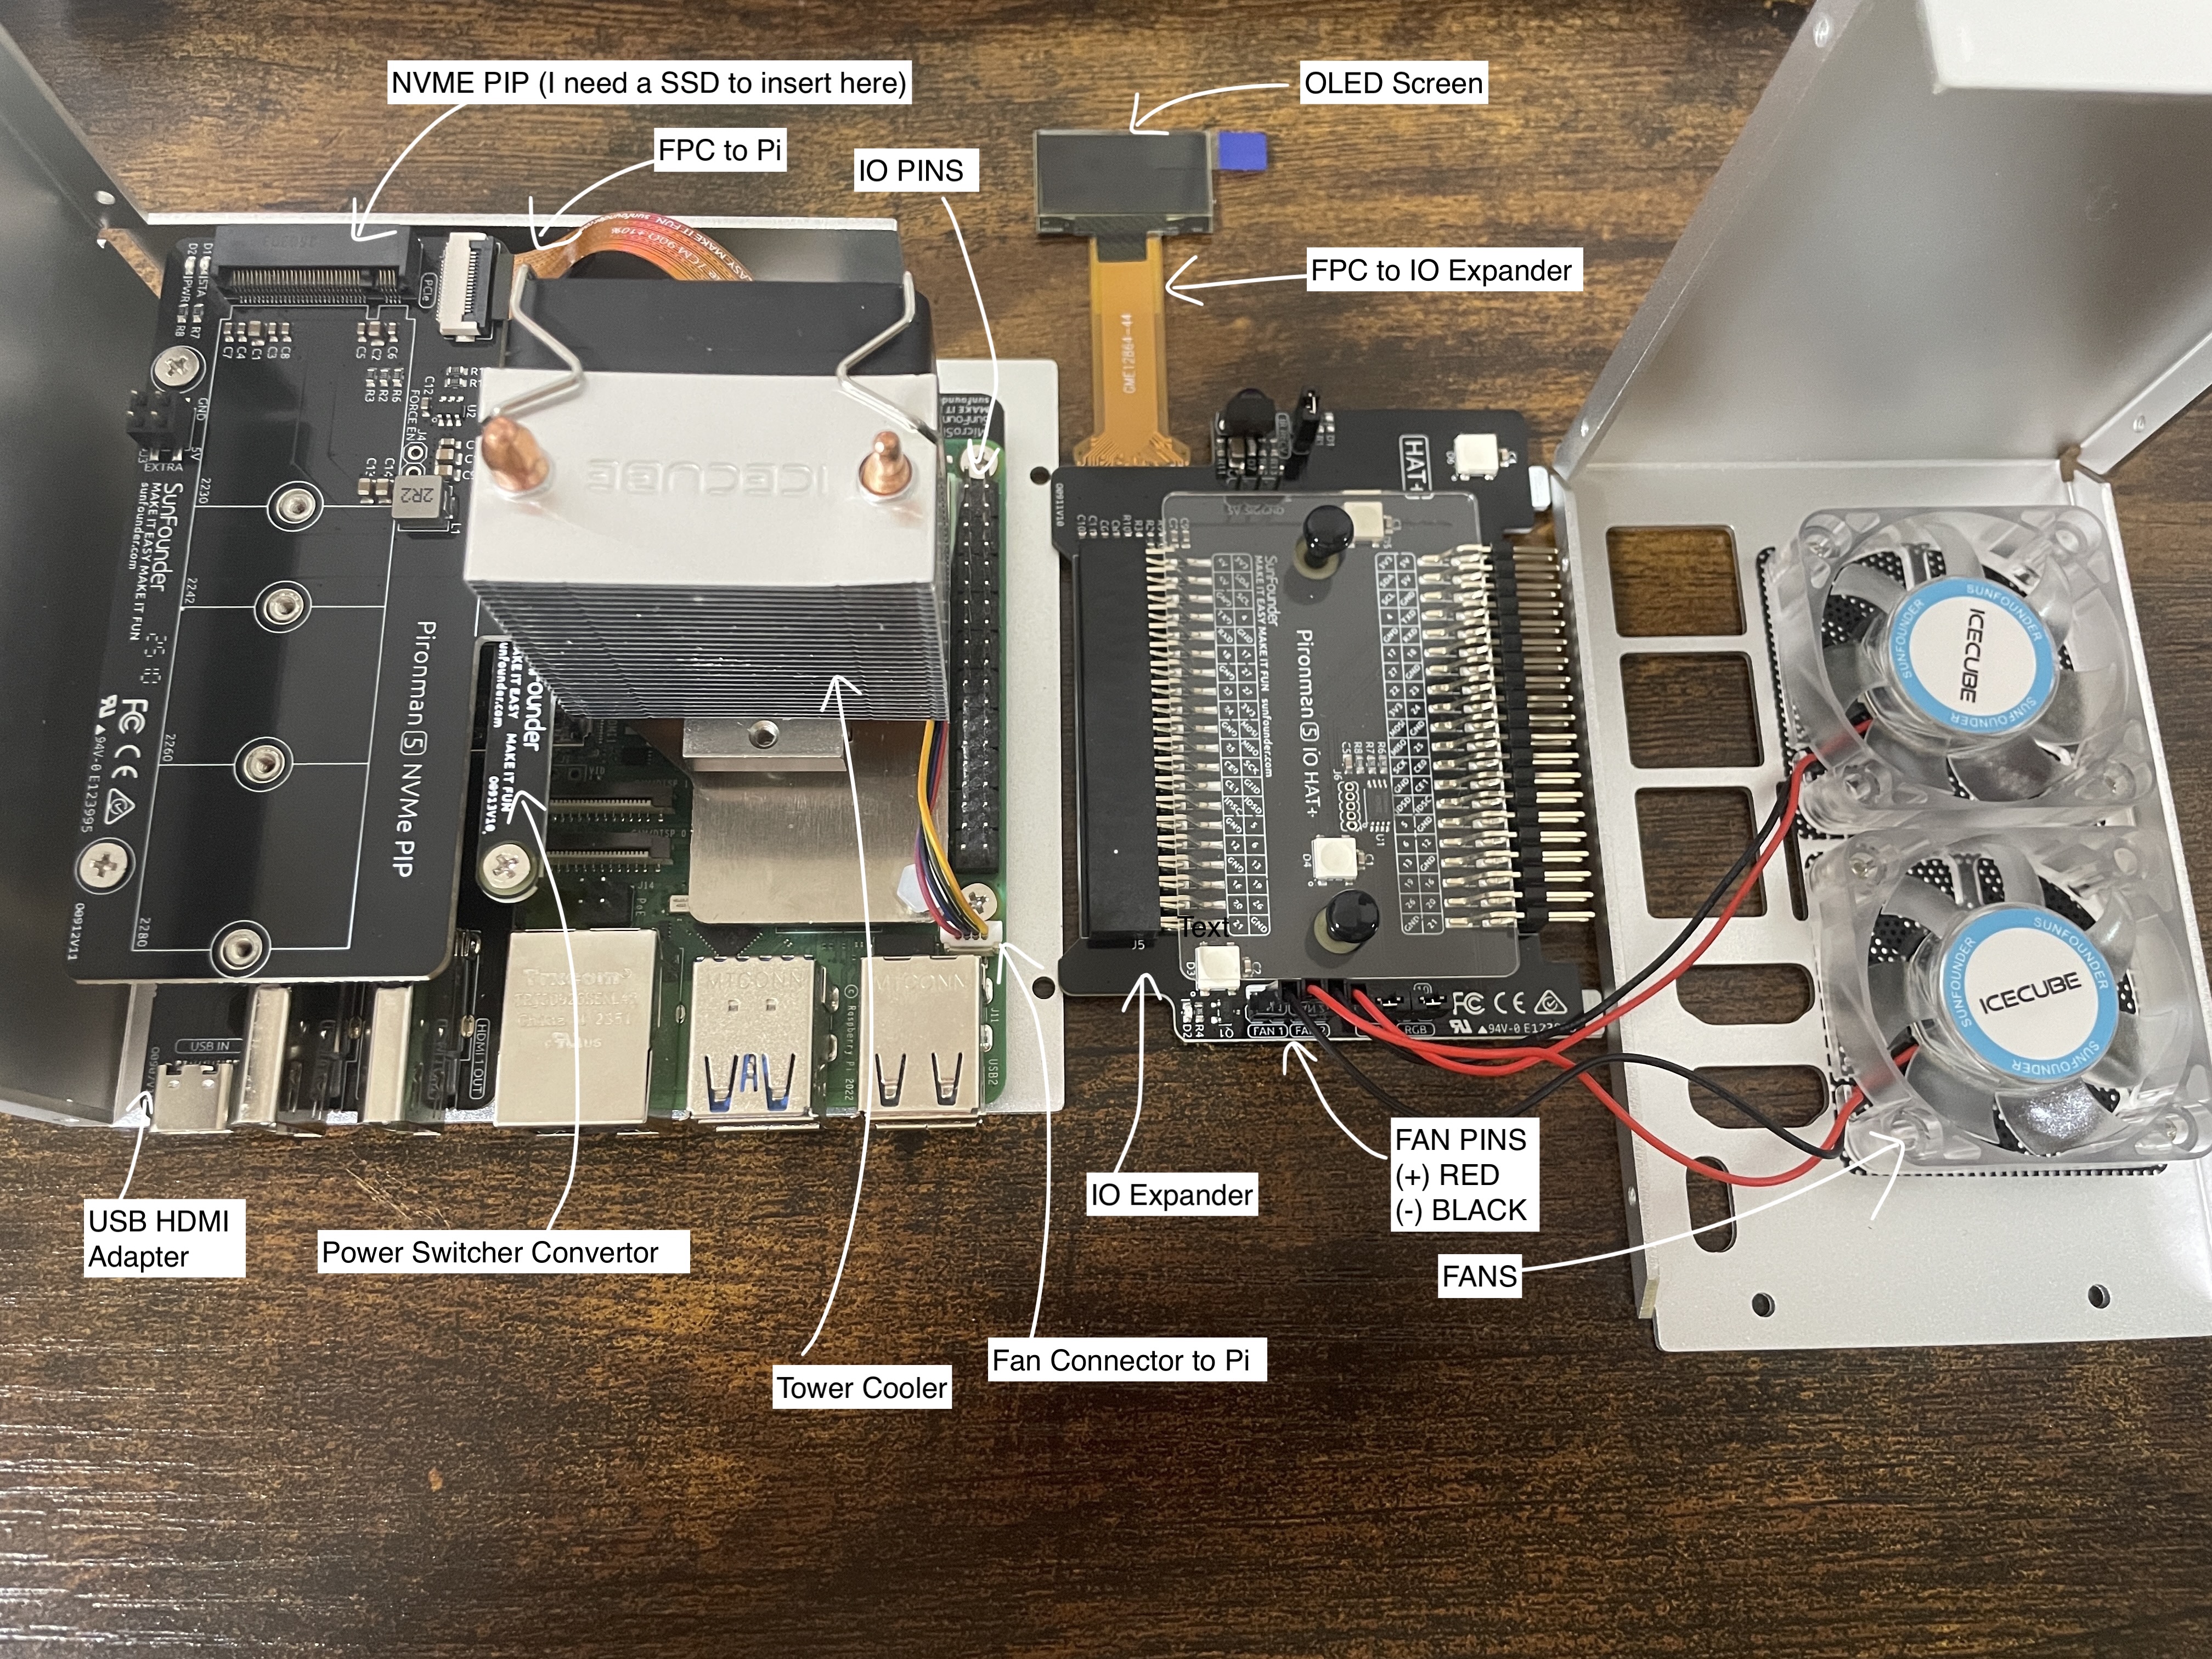
The components to test are NVMe PIP, PWN Cooling Fans, IO Expander, and OLED Screen.
I follow these rules for anything that needs assembling (1) I don’t close the case until I’ve tested everything and confirmed it is working well. (2) I also like to keep the screws a bit loose until the entire assembly is done. (3) Keep all the nuts and bolts categorized and labelled. An extra is always good. You never know when you will need them. All thanks to years of self-assembling furniture and electronic devices.
Unfortunately, USB-HDMI PC is not working for me, so, I ended up messaging sunfounder for a replacement. Hopefully, it will arrive soon. Right now, the bottom part looks so empty..😔
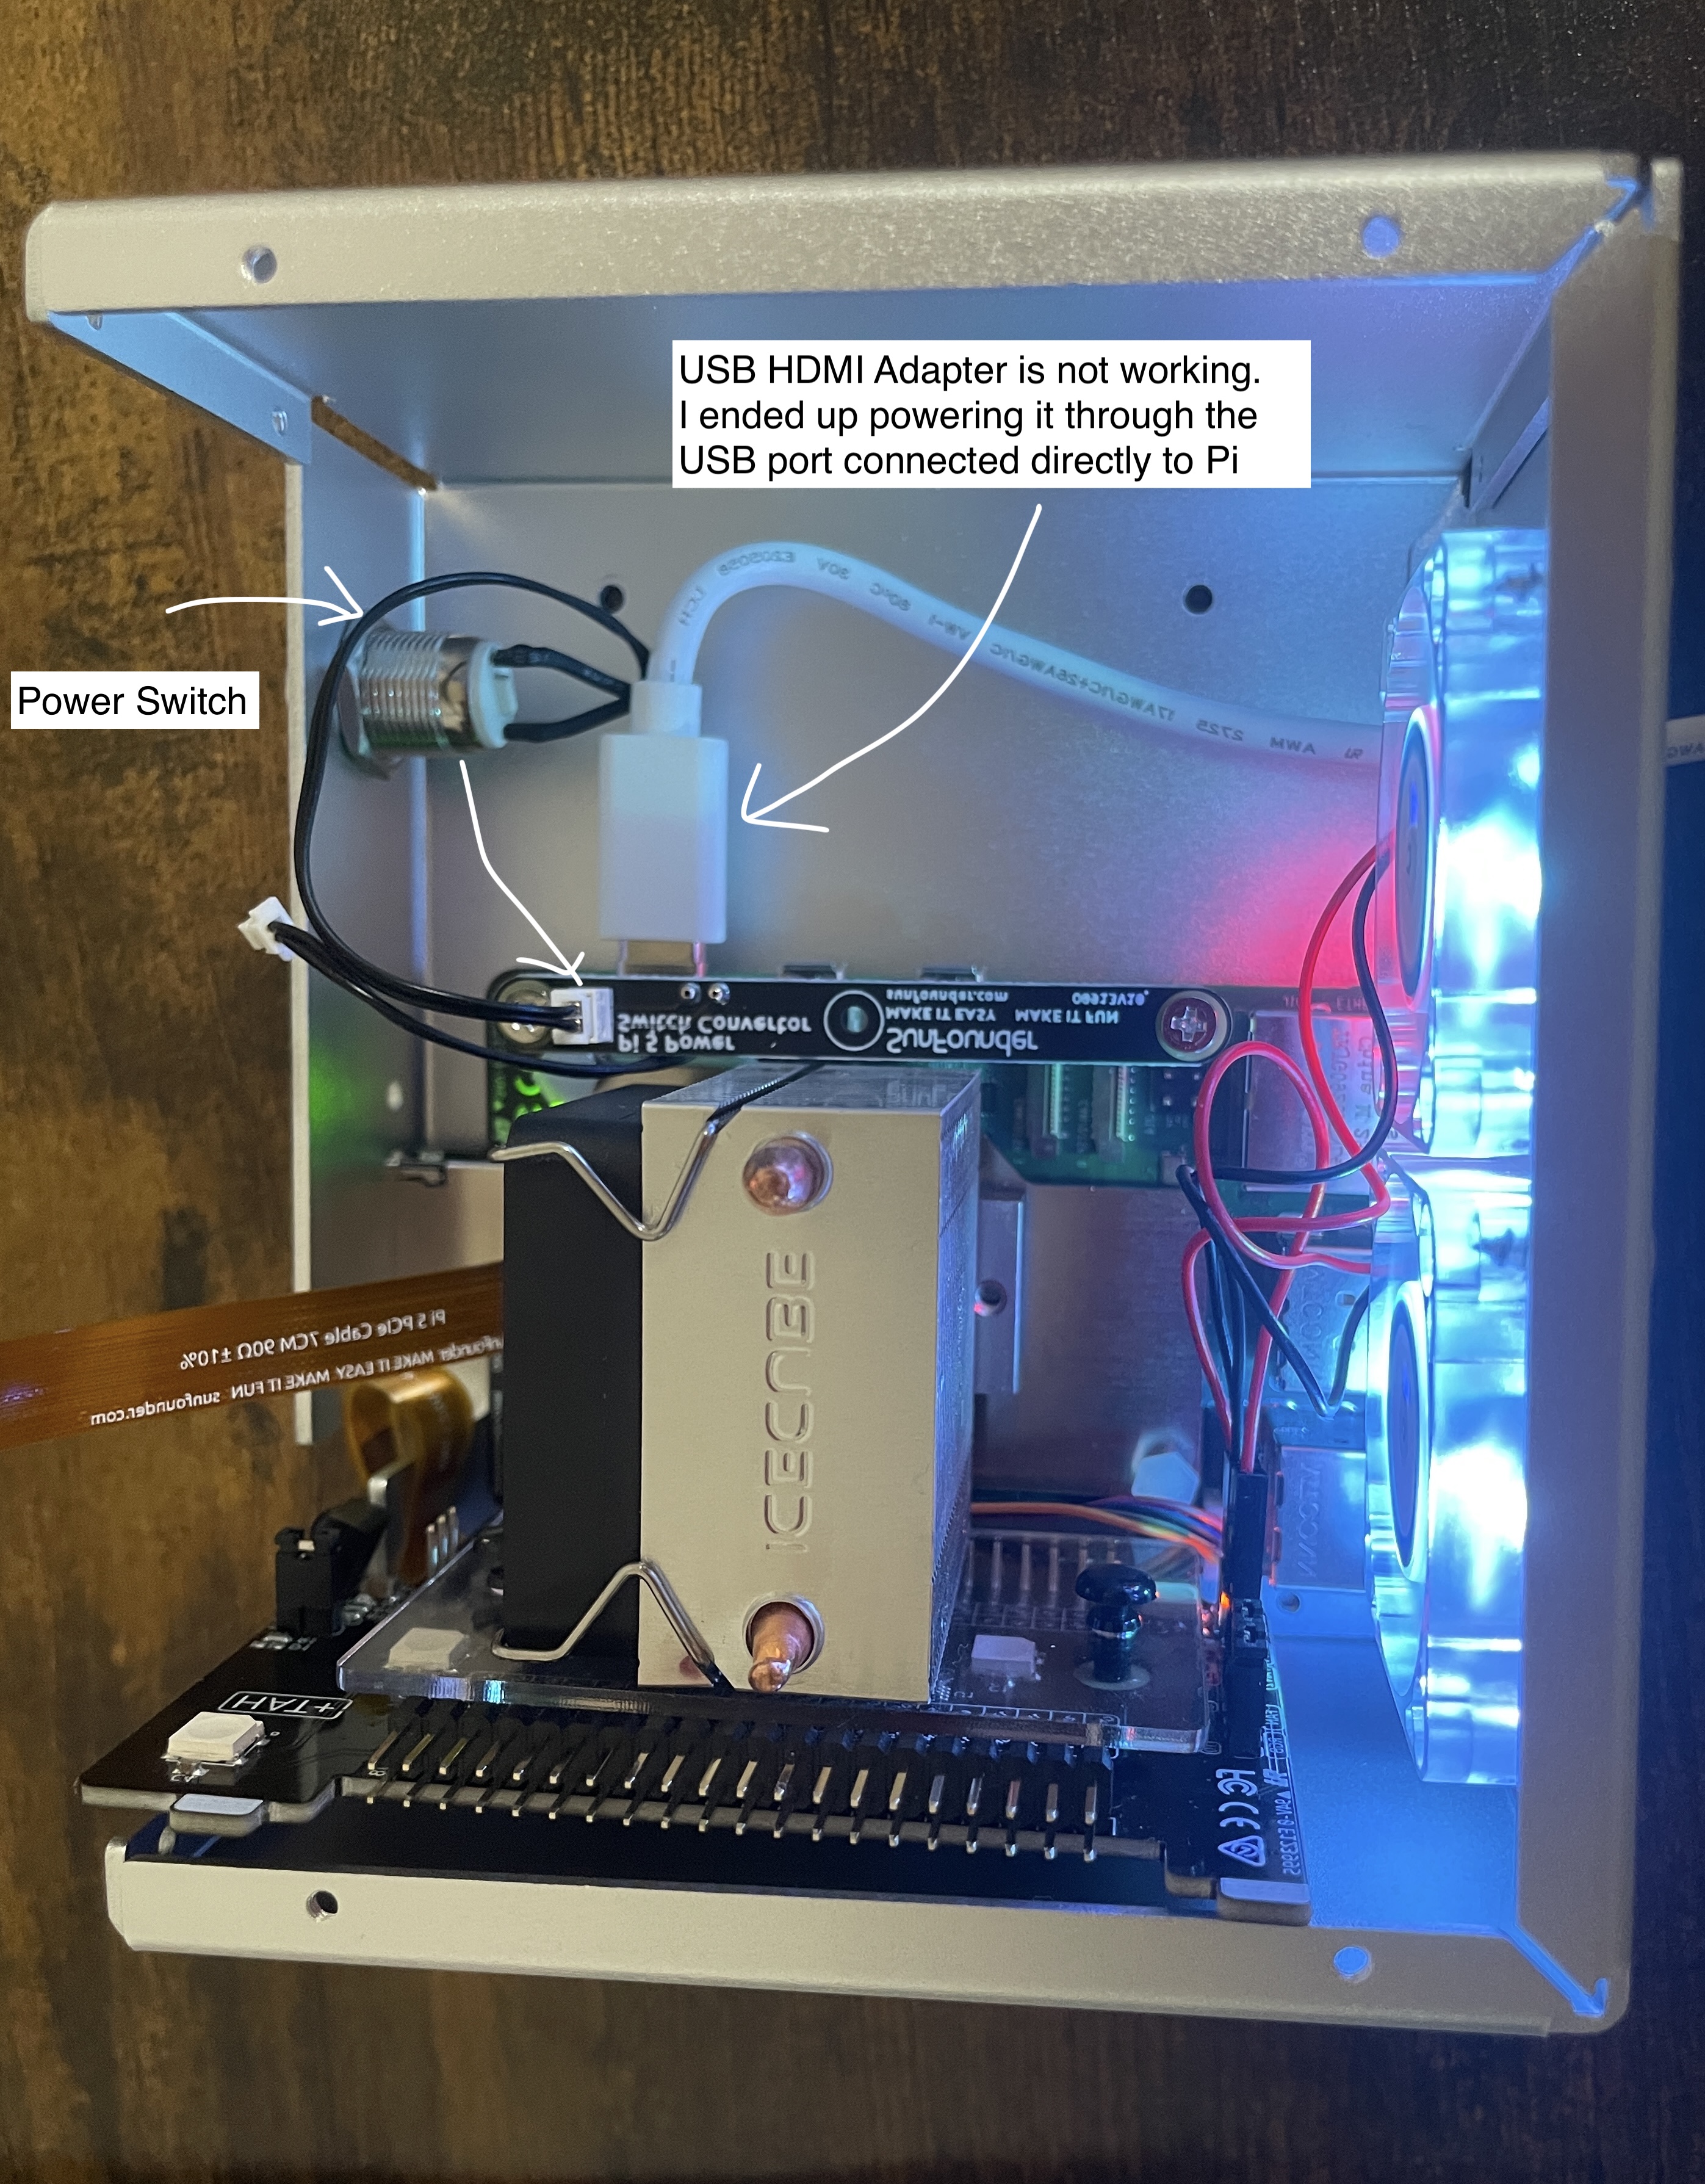
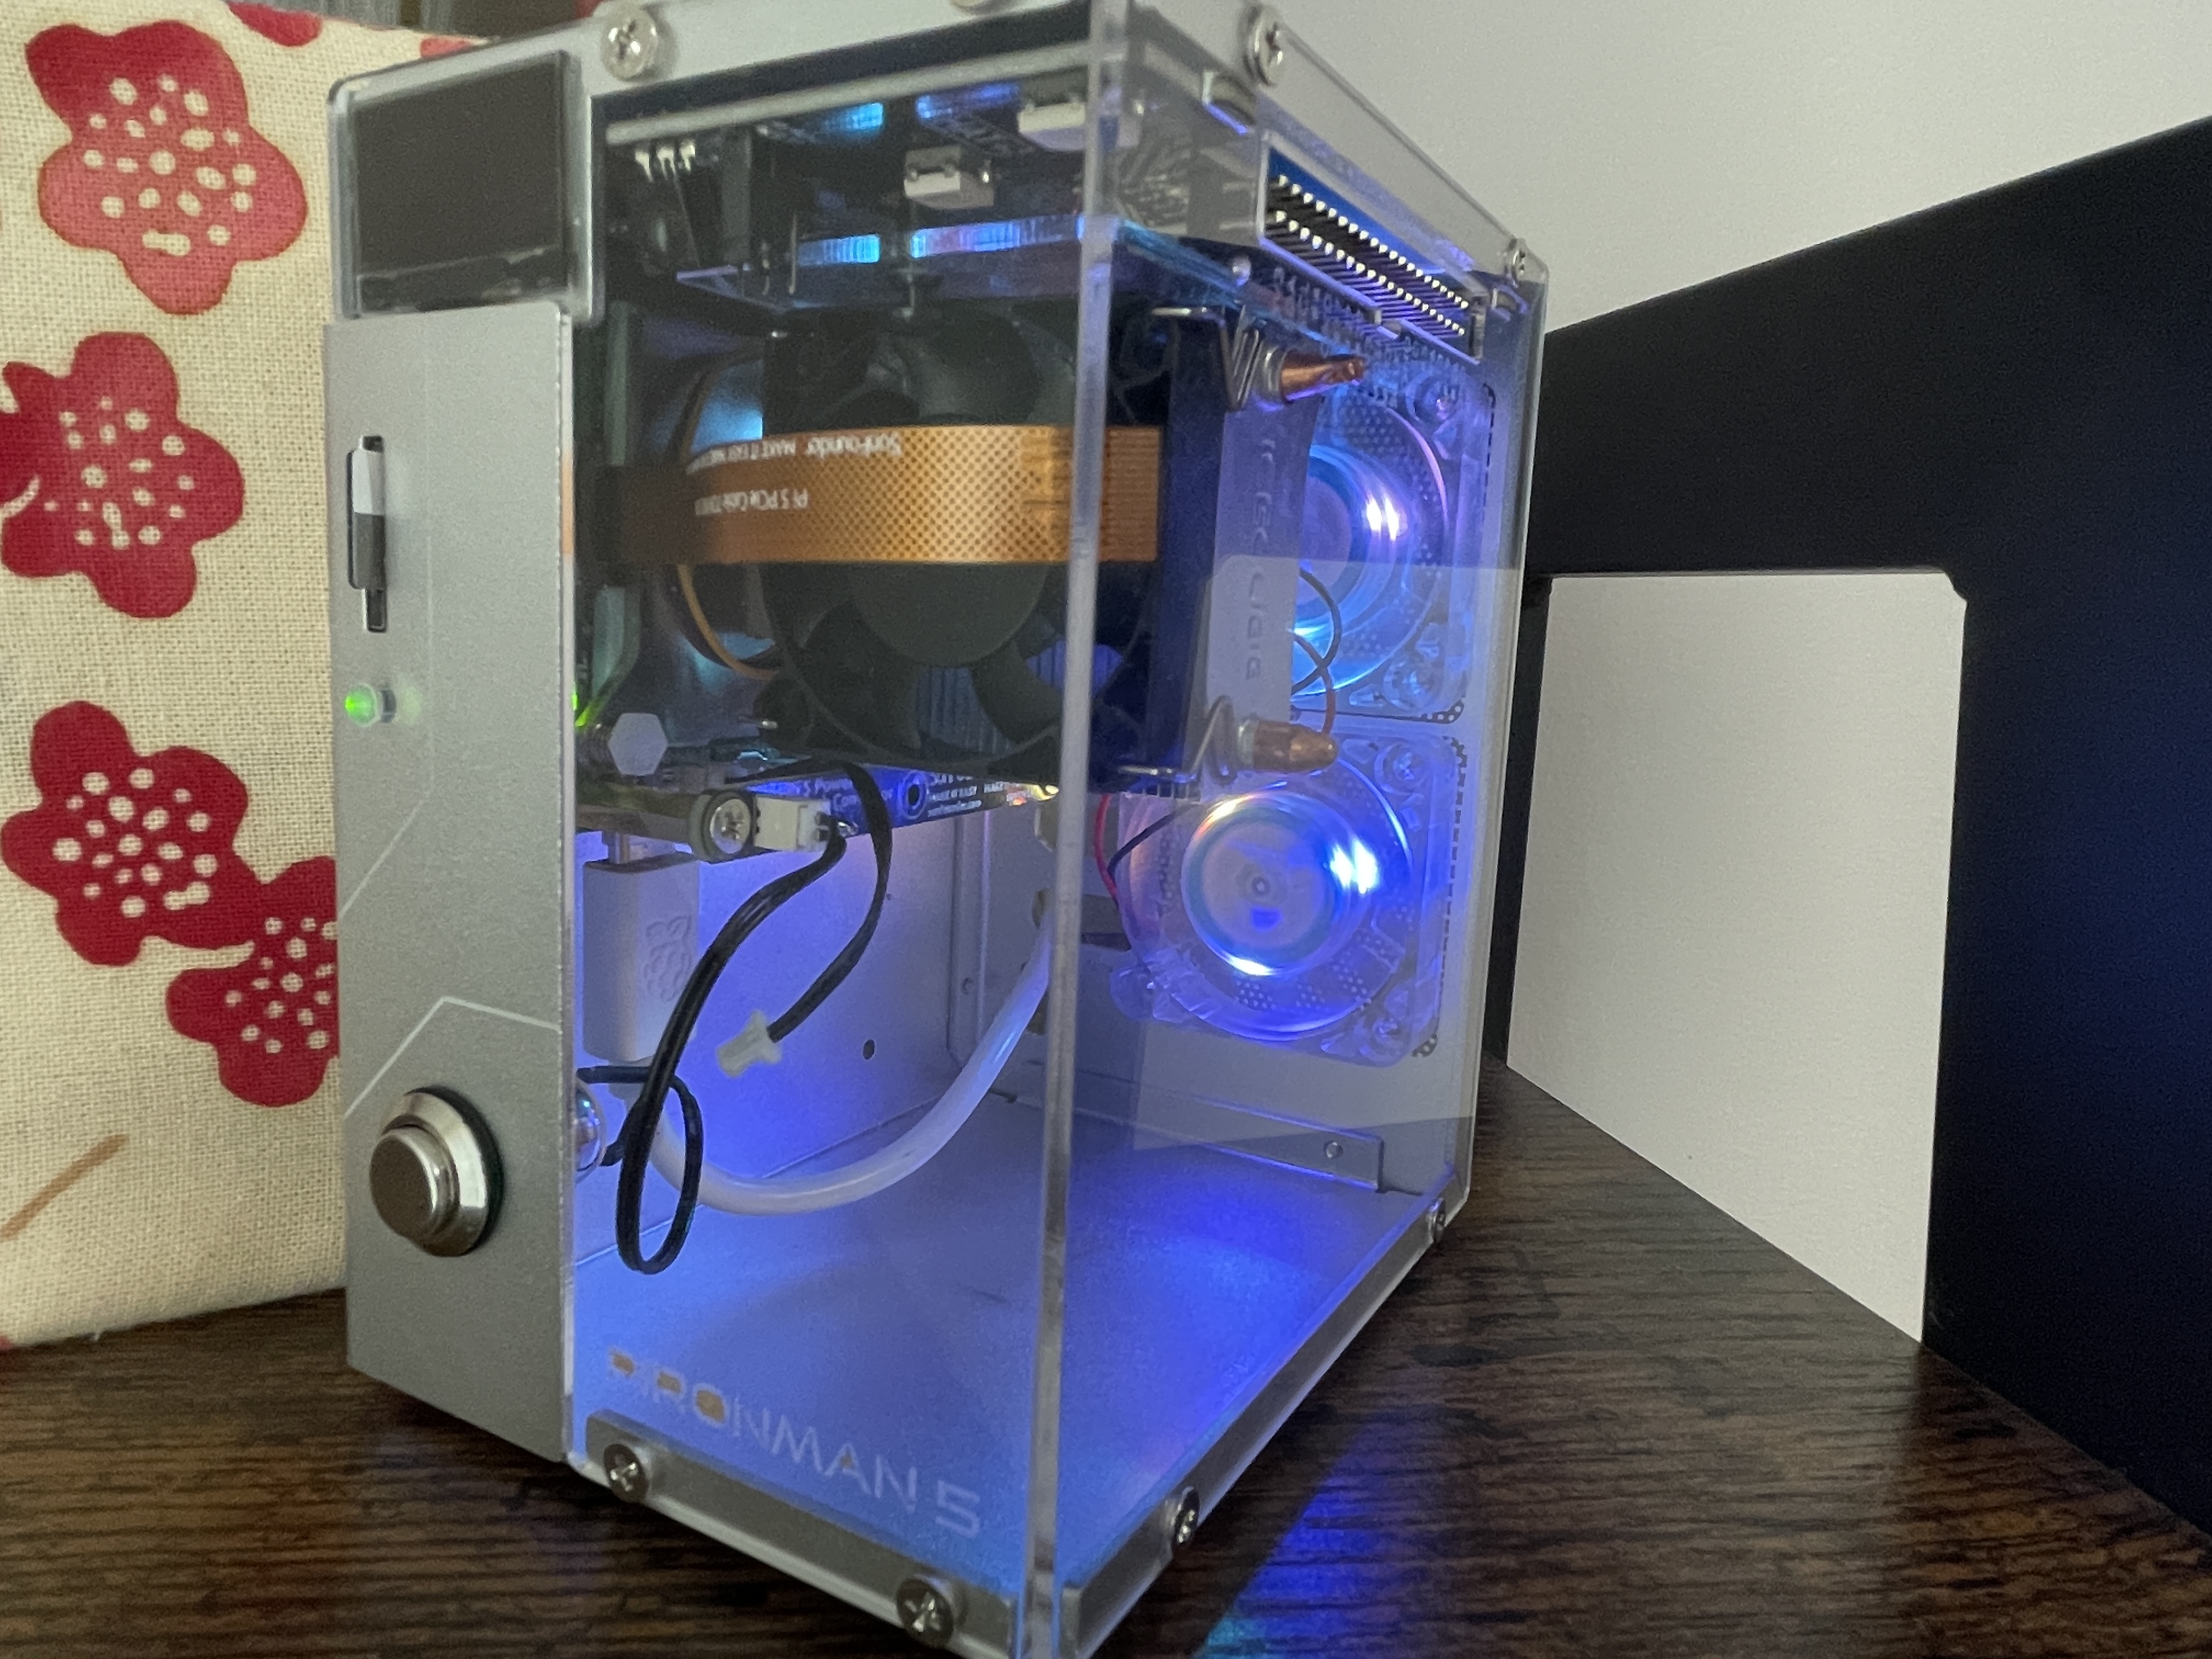
That’s it. I am currently using a microSD card to boot the Pi 5. It is not ideal, but I am working with what I have. I also don't have a monitor, which is why I set up the Pi 5 to run headless. Also, because I was so earger to configure Pinonman 5 RGB settings, I ended up ruining the boot configurations and had to re-flash the microSD card which then again, ended up me losing the latest entries about Pimoroni Badger 2040 for this blog. I am going to schedule the script to backup the blog.
Anyway, time to add a SSD to the cart!
References Raspberry hardware specs