I bought this little Badger 2040W Microcontroller to tinker with
Published on 2025-01-19
Could be Interesting! IoTBadger 2040W is a cool little gadget with a 296x128 pixel Black/White e-Ink display, soldered together with Raspberry Pi 2040 controller which has Dual-Core, 133MHz, 264KB RAM, 2MB Flash (1MB for OS and 1MB for Storage) and wireless capability. The BadgerOS is powered by MicroPython.
Badger 2040W
Badger 2040W is a hackable, programmable badge with a 296x128 pixel Black/White e-Ink display, soldered together with Raspberry Pi 2040W controller which has Dual-Core, 133MHz, 264KB RAM.It also comes with 2MB Flash (1MB for OS and 1MB for Storage). 2040W has 2.4GHz wireless capability. The BadgerOS is powered by MicroPython.


Initial setup
-
Updating the firmware The very first thing we would need to do is updating the firmware as the firmware that come with the Badger2040 would most definitely be out-of-date. For that, we can just grab the latest version of the firmware from the Badger2040 GitHub. It would be either pimoroni-badger2040-vX.X.X-micropython-with-badger-os.uf2 (for badger without Wifi) OR pimoroni-badger2040w-vX.X.X-micropython-with-badger-os.uf2 (for badger with Wifi capability).
a. Download one of the files to the local computer. b. Next, connect the badger to the local computer and press the two buttons (BOOTSEL + RESET) at the same time. This will reset and start the bootloader of RP2040. c. Once it is in boot loader mode, RP2040 will appear as an external mass storage device on local computer. Copy the downloaded utf file to the RP2040. After the copy is completed, the RP2040 boot loader will trigger an automatic reset, and the RP2040 will no longer appear as a mass storage device. It is also updated with the firmware uft2 that was copied to the storage. -
Thonny setup Because we cannot see RP2040 unless it is in boot loader mode, we need Thonnny, a Python IDE (Integrated Development Environment). Thonny is the only way we can talk to RP2040. To install Thonny, in MacOS, we can simply issue install command with brew manager. There is also an option to download dmg on the Thonny website.
brew install Thonny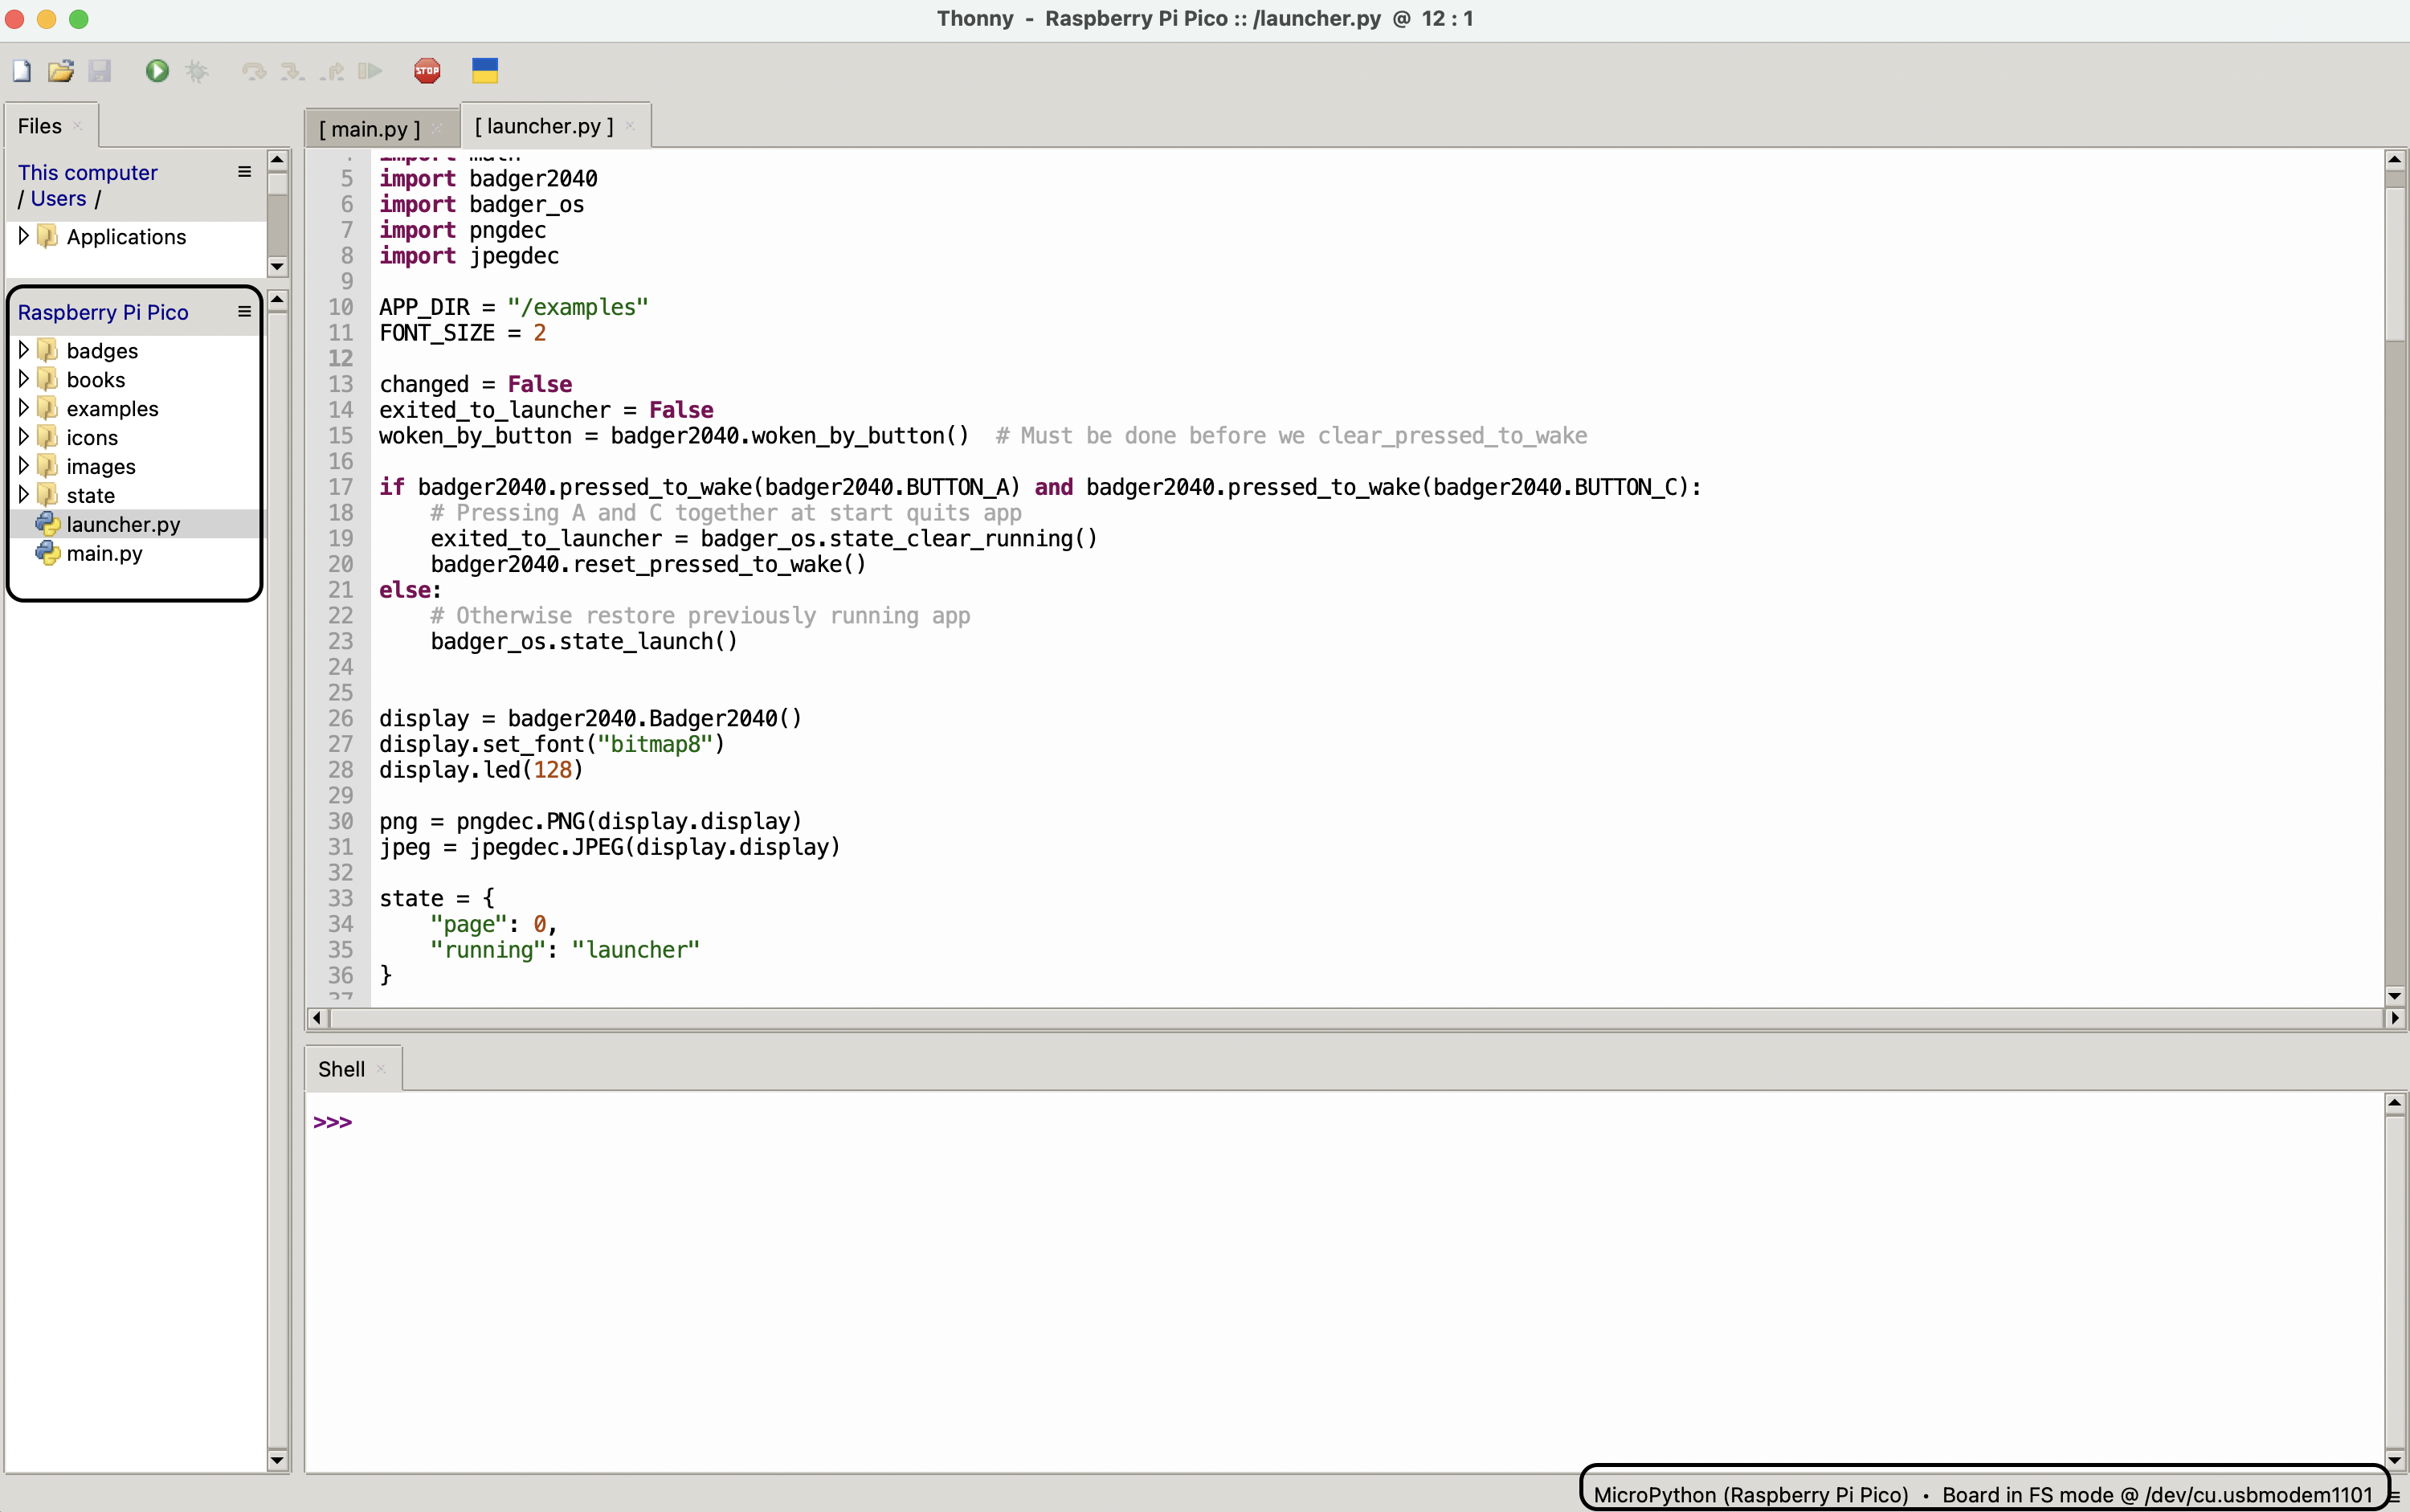
After installing Thonny, launch it and select the interpretor to be 'MicroPython (Raspberry Pi Pico)'. Thonny will try to connect to the RP2040. Because Badger is already busy running the launcher program, we'll need to interrupt it with the stop button (Stop/Reset Red button on the top toolbar) in Thonny. In recent versions of Thonny, there's an option to interrupt running programs automatically by going to Tools > Options > Interpreter > Interrupt working program on connect.
If Thonny responds with
a. Press the Reset button behind the RP2040. Wait for a few seconds.Device is busy or does not respond.
b. In Thonny, click on Stop/Reset Red button on the top toolbar.
These action will re-initiate the connection to RP2040 from Thonny. Fore more troubleshooting, refer to this doc.
When it is successful, we will see 'Raspberry Pi Picos' on the file navigation menu (we can enable it via View menu > files), and also, on the shell with:MicroPython v1.23.0-dirty on 2024-06-21; Pimoroni Badger2040W 2MB with RP2040 Type "help()" for more information. >>> - Customising the BadgerOS
With that, we are ready to start customizing the BadgerOS to our delight. Here are a few of the resources I am looking at
a. Badger2040 GitHub
b. Getting-started-with-badger-2040.
To be continued...